3 minutes
How to pair and use the power meter with Apple Watch for cycling
Just recently, Apple introduced a new update to its iOS and WatchOS platforms, which now natively supports the connectivity of power meters. Previously, the ability to estimate running power saw significant improvement through a firmware update, but direct support for cycling power was notably absent. This left Apple Watch users relying on an auxiliary apps to turn their Apple Watch into a cycling power meter and bike computer. However, with this latest update, the need for a companion app has been eliminated, ushering in an era of seamless integration of power meters with your Apple devices.
In this blog post, we will take you through a comprehensive step-by-step process to set up a power meter on your Apple Watch. We will delve into the essentials of pairing, configuring, and successfully using a power meter to enhance your cycling workouts.
Moreover, we will also discuss how to use this valuable data in the ‘Workout’ app, specifically within the ‘Cycling’ workout type. Understanding this information can greatly help improve your overall fitness by providing insights into your endurance, strength, and the efficiency of your training regimen.
So, whether you are training for your next big race or simply cycling for the sheer joy of it, using a power meter with your Apple Watch can revolutionize your approach to cycling workouts. Let’s get started!
Step 1: Install Your Power Meter on Your Bike
First, you’ll need to install your power meter on your bicycle. This process can vary, so consult your power meter’s instruction manual to ensure a proper installation.
Step 2: Pair Your Power Meter with Your Apple Watch
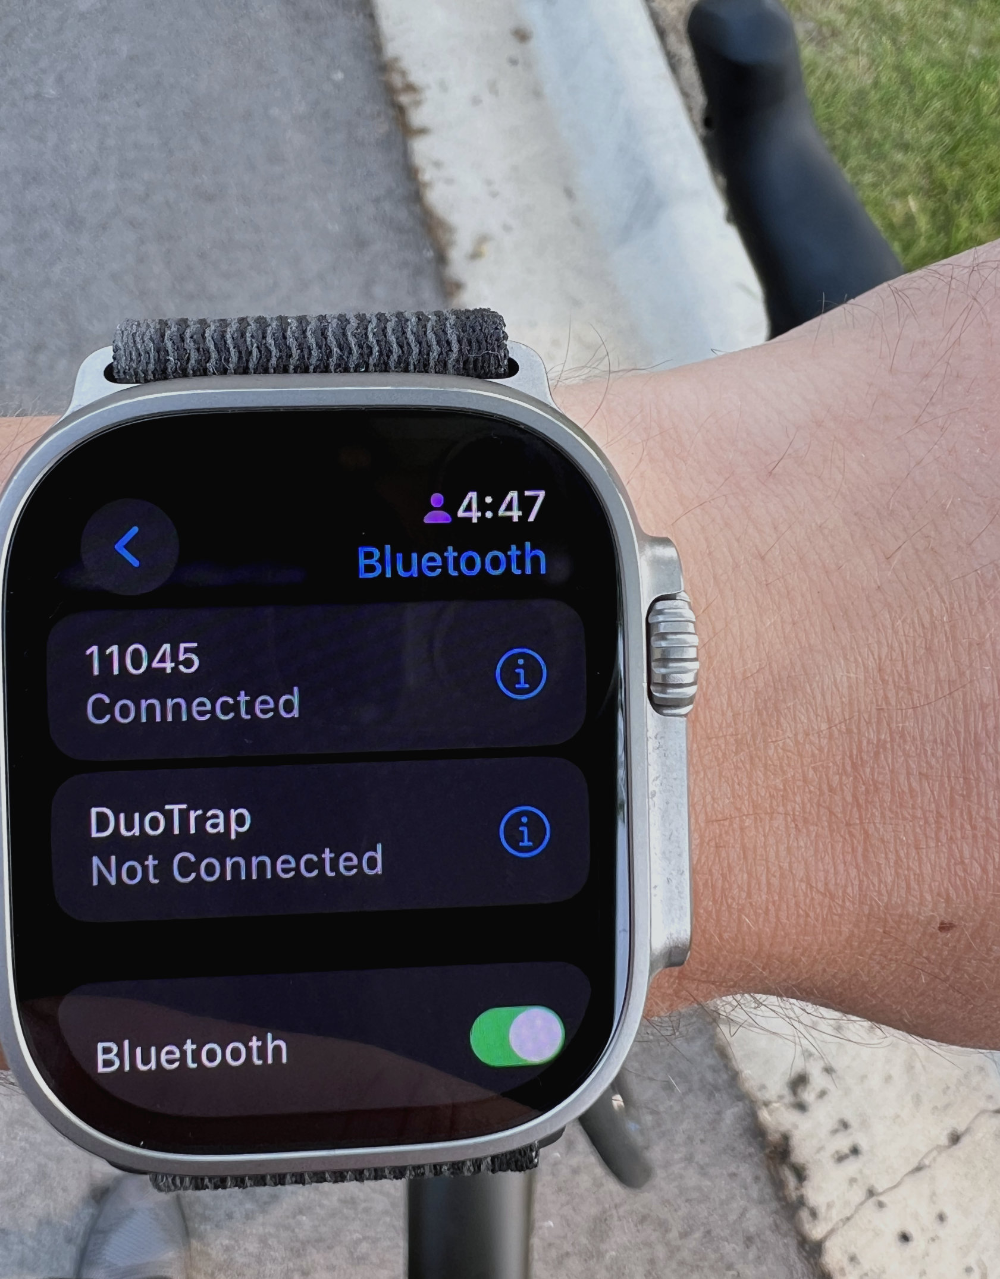
Open the ‘Settings’ application on your Apple Watch. Scroll down and tap on ‘Bluetooth’. Make sure your power meter is awake (you may need to spin your bike’s pedals to wake it up). Your power meter should appear in the list of ‘Devices’. Tap on the name of your power meter to connect it. Note: I had to disconnect my power meter from my phone before I was able to see it in the list of available bluetooth devices on my apple watch.
Step 3: Configure Your Power Meter
Once your power meter is paired, you’ll want to ensure it’s properly configured.
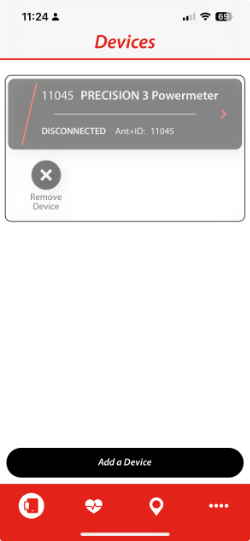
Open the app that is associated with your power meter (e.g., Stages, Garmin, or 4iiii) on your IPhone. Go to the ‘Settings’ or ‘Configuration’ page within the app. Follow the prompts to configure your power meter.
Step 4: Use Your Power Meter
Now, you’re ready to start your training and use your power meter!
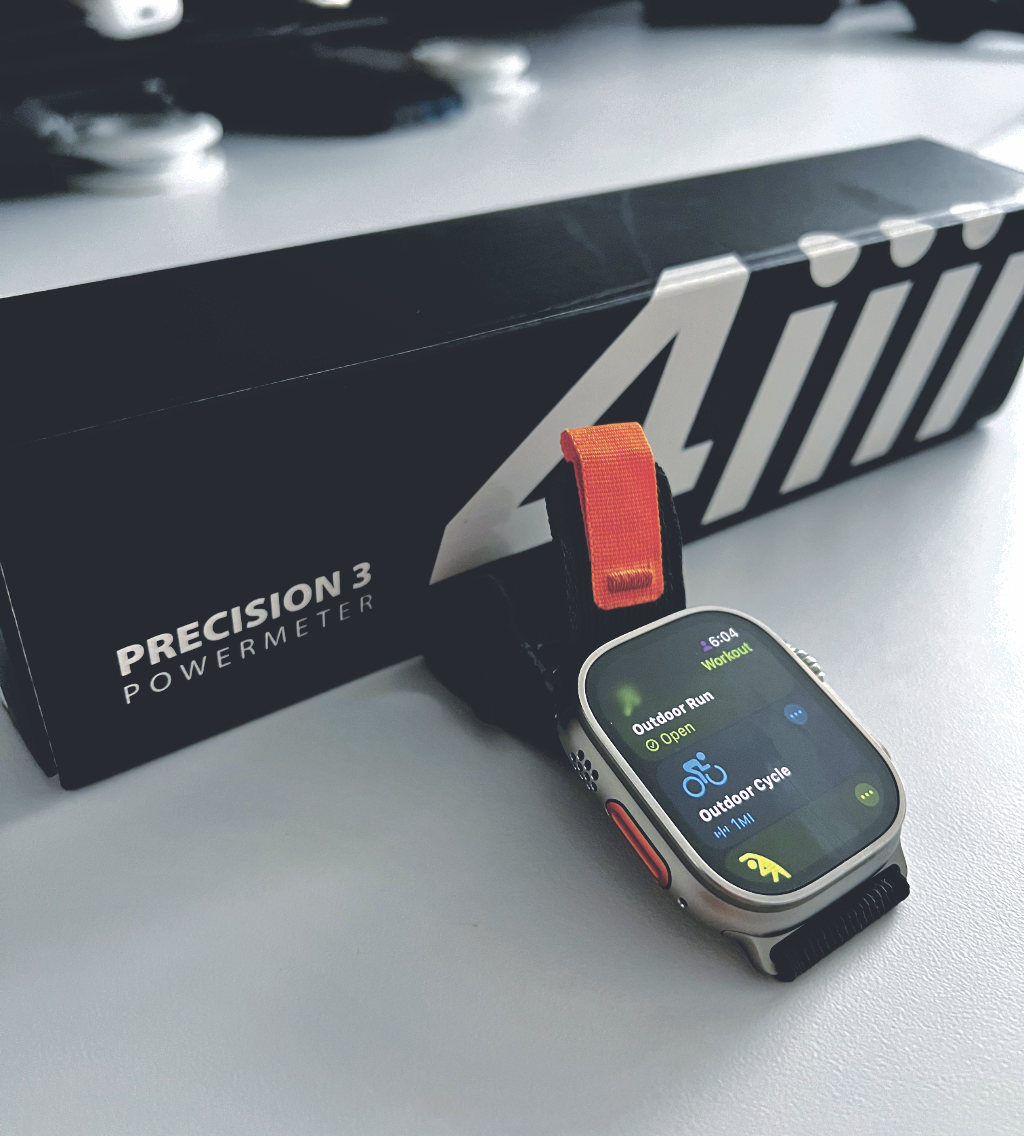
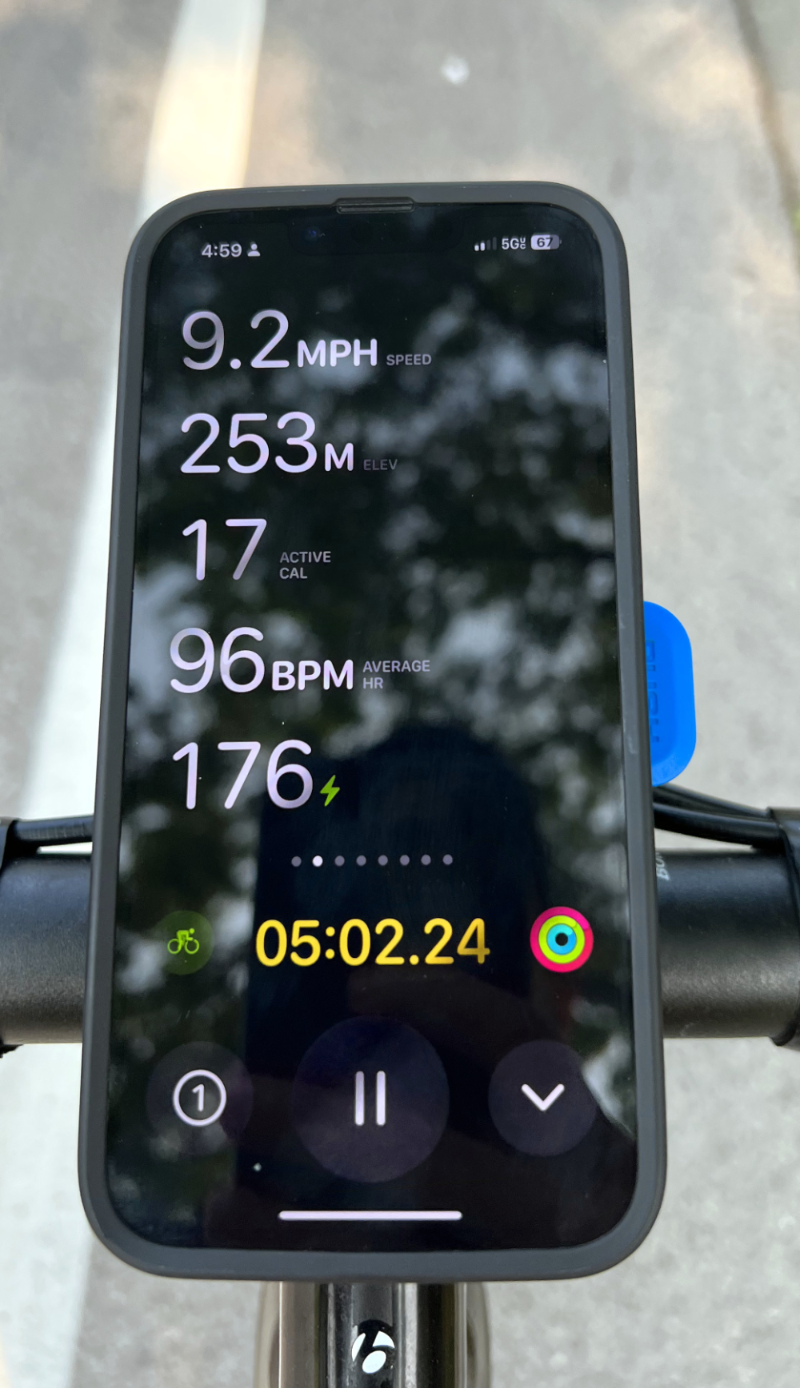
Go to the ‘Workout’ app on your Apple Watch. Select ‘Cycling’ as your workout type. Start your workout. The power data from your power meter should now appear on your screen. Depending on your app, it may show up as watts, which is the standard unit for power.
Remember, a power meter is a fantastic tool to enhance your training regimen, but it’s just a tool. Always listen to your body and ensure you’re not overworking yourself. Happy cycling!